
Assalamualaikum guys, Last year, for the first IIUM Code Jam, I made a custom made Ubuntu-based linux ISO so that all team are using the same/similar environment. For this year, the contest will be using a different contest system, so I need to change it a bit. I only have one problem, I forgot how to.
So I made this post to remind myself when I forgot about it in the future, or other people, on how to make a quick and dirty custom ubuntu live ISO. The key here is ‘quick and dirty’. That means, I’m going to do a hacky distribution. That means, modifying files that is not meant to be modified due to reasons such as, if the package get updated, it will be overridden, or there would be scattered files, and it probably will fail signature check. Also, bare in mind that I am not familiar with linux application packaging methodology/convention, etc, so what I’m doing here is likely the wrong way, but quick, and it get the job done. I only expect the ISO to be used once, during the contest.

So the easiest way to make a custom ubuntu-based ISO is to use the ubuntu-customization-kit (UCK) software. By default, it have a GUI utility, but it seems to have errors when I tried to run it. So I’m going to use other CLI utility bundled with the ubuntu-customization-kit. A brief summary of what (in general) are we doing. In general, we are taking another Ubuntu ISO as a ‘base’, extract the contest, modify it then create another ISO from the modified files. I’m probably going to skip some (a lot?) of steps that the gui tools do, because I don’t know how to, and it seems to work fine without it. So… bare minimum setup. The ‘base’ ISO I’m using is not the stock ubuntu ISO, but last year IIUM Code Jam ISO which is based on ubuntu 14.04. So lets get started, first you need to install the ‘uck‘ package. I assume, you are currently running an ubuntu based linux to create the ISO. Then, you run:
- uck-remaster-unpack-iso <the iso file>
- uck-remaster-unpack-rootfs
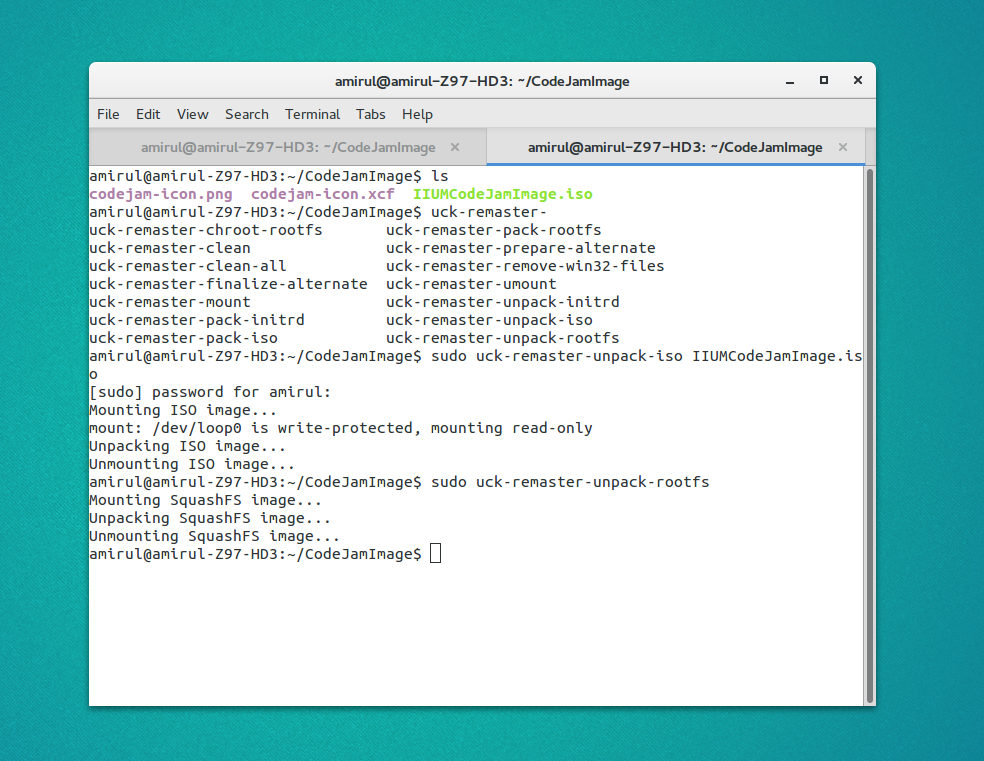
Both of this command (and all other command in this post) need to be run as root. After you run both of this command, some new folders are created at the path ‘~/tmp‘, and the ‘~/tmp/remaster-root‘ seems to be the root of the linux distribution that you are making. You basically now have access to modify anything by modifying the files in this directory.

For example, to edit the default background:
- Copy the new background you want into the directory, preferebly in ‘/usr/share/background‘ (This is in the ‘~/tmp/remaster-root‘, not your running OS root). It can be anywhere, but all the default background seems to be there, so I prefer to just keep it there.
- Edit ‘/usr/share/glib-2.0/schemas/10_ubuntu-settings.gschema.override‘. Somewhere in the file, you can point to the new background.

To enter chroot (Basically create an environment as if you are running from the image):
- Run ‘uck-remaster-chroot-rootfs‘.
- You now can run as if you are running from the live installation. This is a good place if you want to install any package. For example, I can install the compiler for the contest by running ‘apt-get update‘ and then ‘apt-get install g++‘.
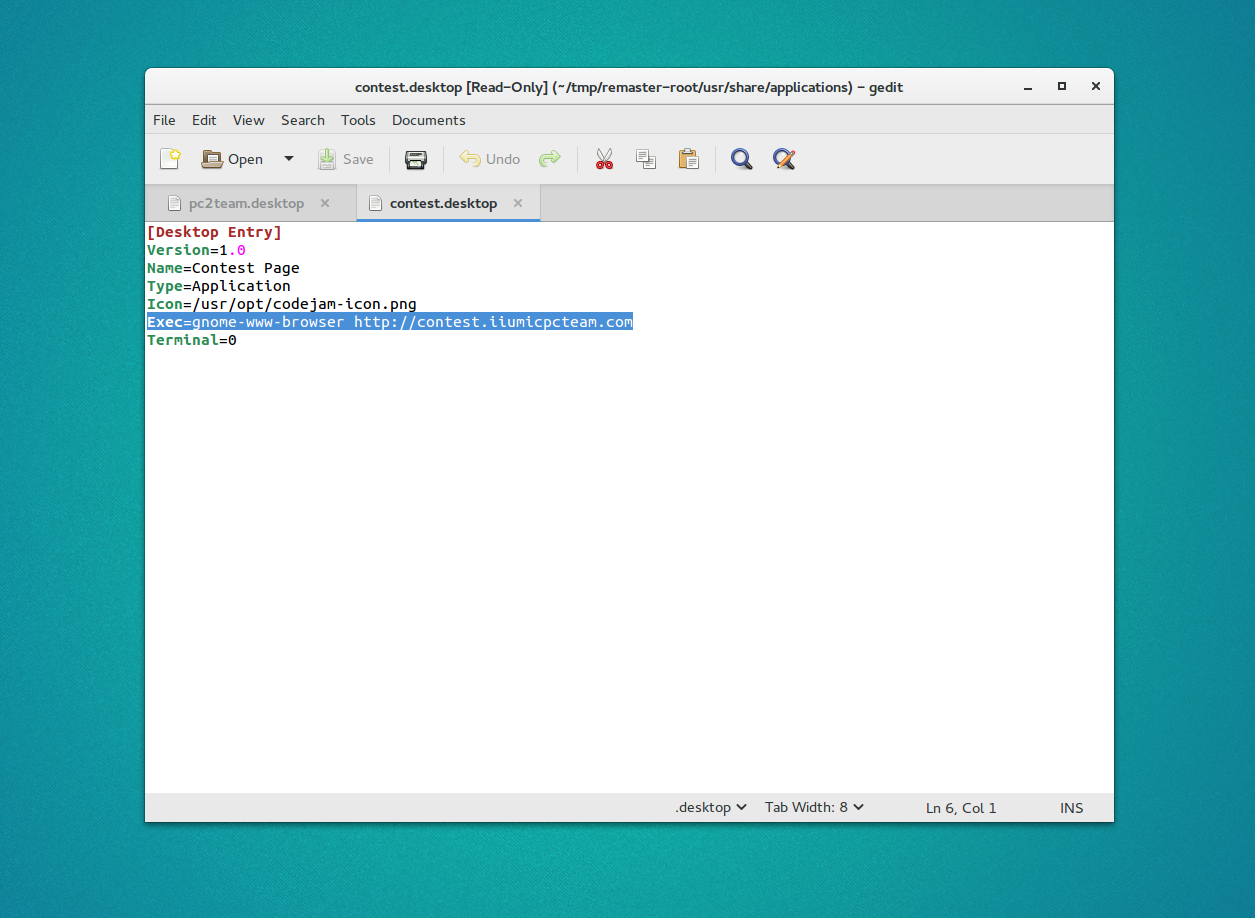
To add item to Unity’s launcher:
- This is a bit tricky. First, you need to add a new application entry description to ‘/usr/share/applications‘. For example, I made a file called ‘pc2team.desktop‘ which points to a PC^2 binary I copied before. I don’t exactly knows the syntax/format/keys of the file, but modifying existing file seems to work. For those who are curious on the actual file specification, I suggest you look at this link for an introduction.

- The specification also allow to specify link to a website, but for some reason I specify it as an application and run the browser on click. Likely I can’t seem to make it work last year, so I just do it like this. In this example, the link will open the contest page, which is the new web-based online system we are going to use. It’s basically nothing right now, but on the day of contest, I could modify it to point to some IP through the DNS settings.
- To make the entry, shown by default in the unity side launcher, edit ‘/usr/share/glib-2.0/schemas/com.canonical.Unity.gschema.xml‘. Somewhere in the file, there is a list of item that will be shown by default in the launcher. Edit the list to modify the default list.

To remove the ‘install ubuntu’ desktop icon.
- Simply remove the file ‘/usr/share/applications/ubiquity.desktop‘.
- There should be a better way to do this, but I can’t seems to find it. So this will have to do.
To add default files in a new user home folder:
- Add any file you want to be copied to a new user’s home directory in ‘/etc/skel‘.
- For example, I added a file called ‘pc2v9.ini‘ that has configuration settings for last year’s code jam so that we don’t need to modify the pc^2 settings on each teams.

Saving your changes.
One you are happy with your changes, run these command in sequences:
- uck-remaster-pack-rootfs
- uck-remaster-pack-iso
A new file at ‘~/tmp/remaster-new-files/livecd.iso‘ is ready to be used. You can now start a virtualbox to run it, or create a startup usb drive.

That is all I know. Hopefully this post will be a good reference next time I do this. Bye!